This post is about a small, inexpensive plugin for Lightroom that makes my life so much easier. Since discovering the possibilities offered by HDR (high dynamic range) techniques, I’ve incorporated them into most of my landscape work. I work very much in the (digital) darkroom and for me photography is about collecting the visual material for the images I want to make. Shooting HDR is about capturing as much tonal range as possible to give me possibilities when making my images in the “lab”.
The plug-in is from Photomatix, well known for their HDR editing and tone mapping application.
While I find most of the effects in the Photomatix a bit garish and overblown, they also make this simple plug-in that does all its work within Lightroom. It takes your bracketed shots of an image and combines all the tonality into one, which you can then adjust normally in Lightroom.
The difference is that you now have a much bigger dynamic range to play with. Initially the resulting image will look horribly contrasty. Typically I will start by bring the highlights right down to bring out their detail and I’ll push the shadows right up. Essentially, spreading out the histogram to get an even spread of tones across the range. All shots are different, but you can do wonderful things, with information in the darks and lights that otherwise wouldn’t be there.

The plug-in is the Merge to 32-bitHDR plugin for Lightroom. It’s available from HDR Soft for US$39. Here’s the link: http://www.hdrsoft.com/download.html
One thing you’ll need to watch when combining a series of bracketed shots. The resulting image may have more fringing, so you would need to remove this in the lens correction window.
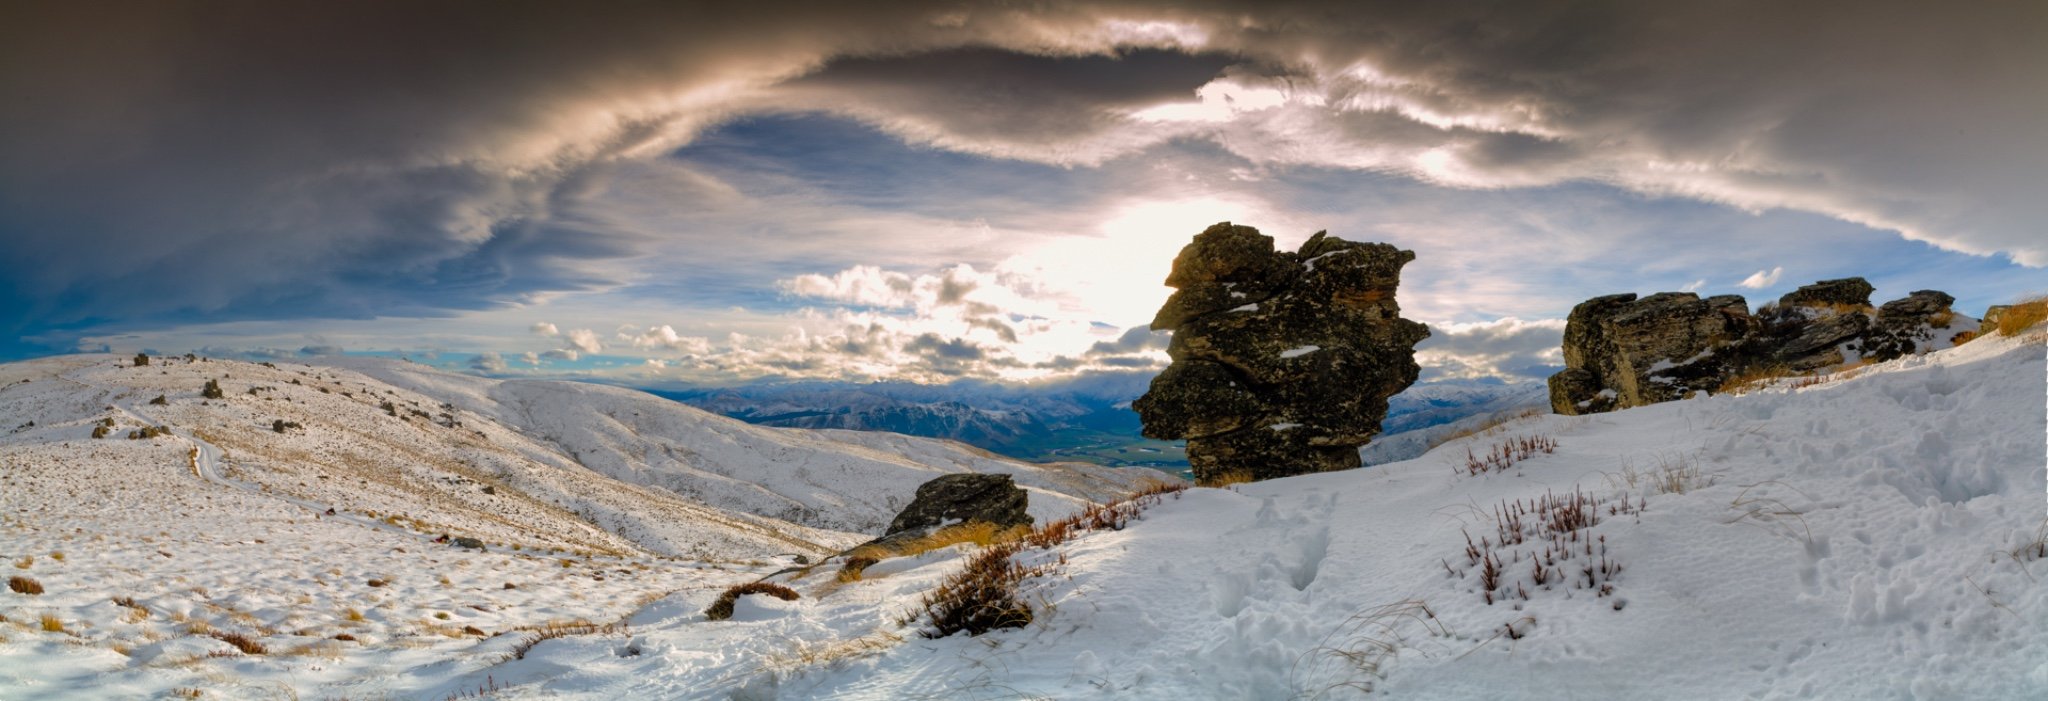
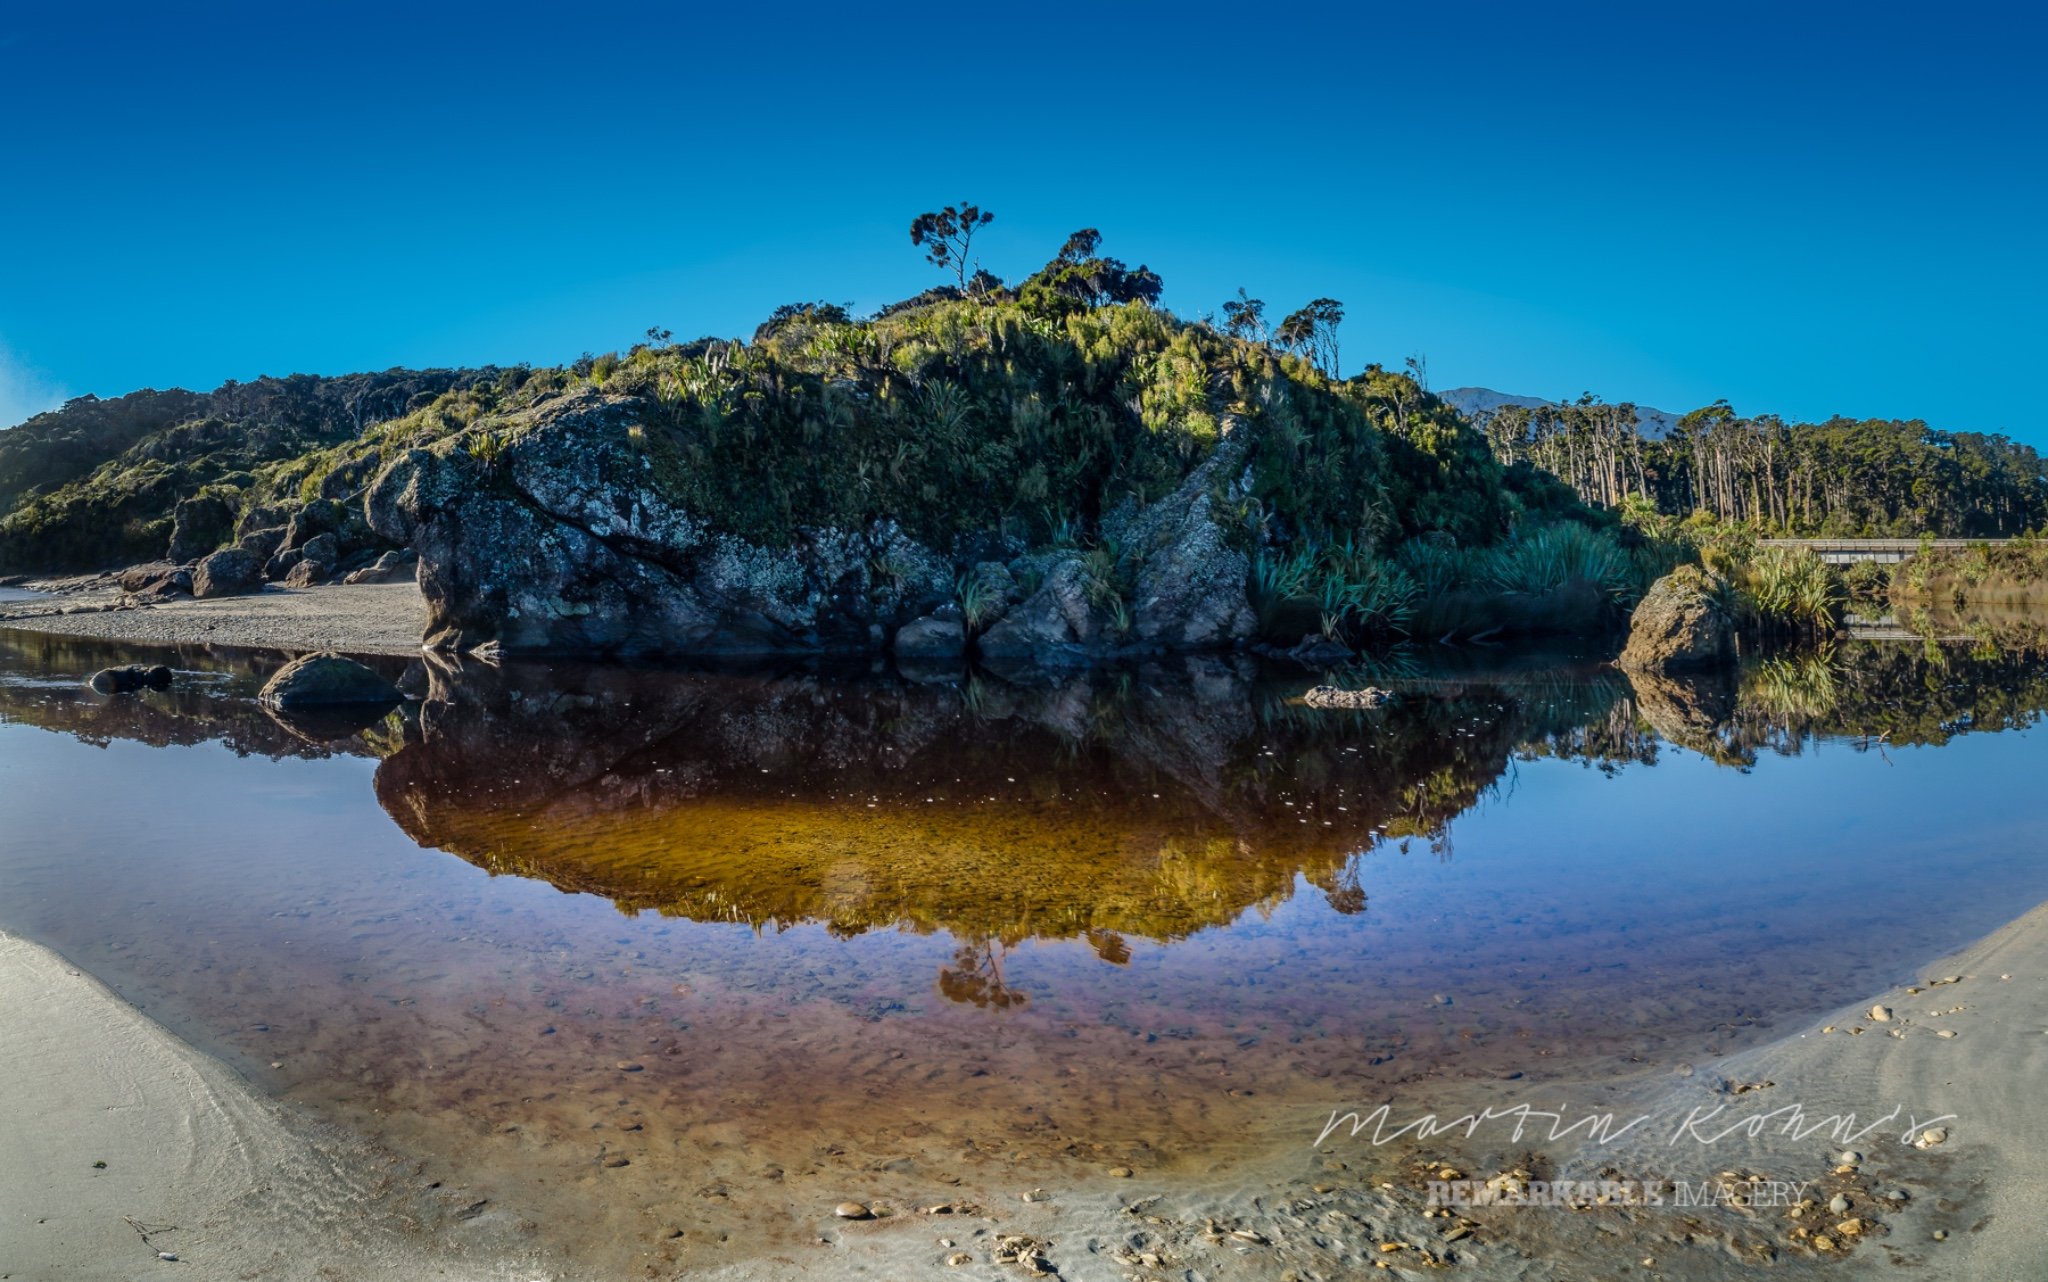
One of the things I love doing most in landscape photography is making panoramas. In my view, the standard 3×4 picture format just doesn’t seem right for landscapes. I prefer a much wider canvas, which means stitching a series of images together. Given that I also like working with HDR, the 32bit HDR plugin enables the perfect work flow.
To shoot a panorama I will start with a set of three bracketed images of the scene (Some say five brackets at 1EV intervals is best, but my D5100 does three automatically, so I space them at 2EV), then I’ll pan around and take the next three, and so on.
In Lightroom I will select each set of three images in turn and right-click-export-merge to 32bit HDR. I flag the HDR images, then filter for the flagged images only so I can see them all next to each other.
Next, in Lightroom, I adjust one of the central images to a point where I’m happy with it. This will include tonal and color adjustments, sharpening, defringing, etc.
When the image is looking good, I copy the settings and apply them to the other HDR images in the panorama. At this point you may see a big shift in lightness or darkness toward the outer images in the set. It’s a good idea at this point to adjust the exposure of the images to make them similar.
The difference between neighboring images should be subtle enough that Photoshop can make a natural blend between them. With all the HDR images next to each other you get a pretty good idea whether they are going to overlap well in terms of their exposure.
Now you are ready to bring the images together in Photoshop. Select them all and right-click-edit-in-merge to panorama in Photoshop.
Lightroom sends the images to Photoshop and a dialogue opens there, asking you to OK merging the listed images. In the photomerge dialogue window you should check auto layout and make sure that blend images together, vignette removal and geometric distortion correction are all ticked.
Click OK and wait while Photoshop does its magic. at the end of the process you should end up with a series of layers corresponding to your original images, each with a layer mask, masking out part of the adjacent layers.
Look at your panorama to see that the images merge cleanly and correctly. There will probably be what appear to be ragged lines showing the edge of the masks from one layer to the next, but don’t worry, these will disappear when you merge the layers.
Photoshop may have difficulty making clean transitions from one frame to the next when there is movement in the scene or if you don’t have enough overlap between images.
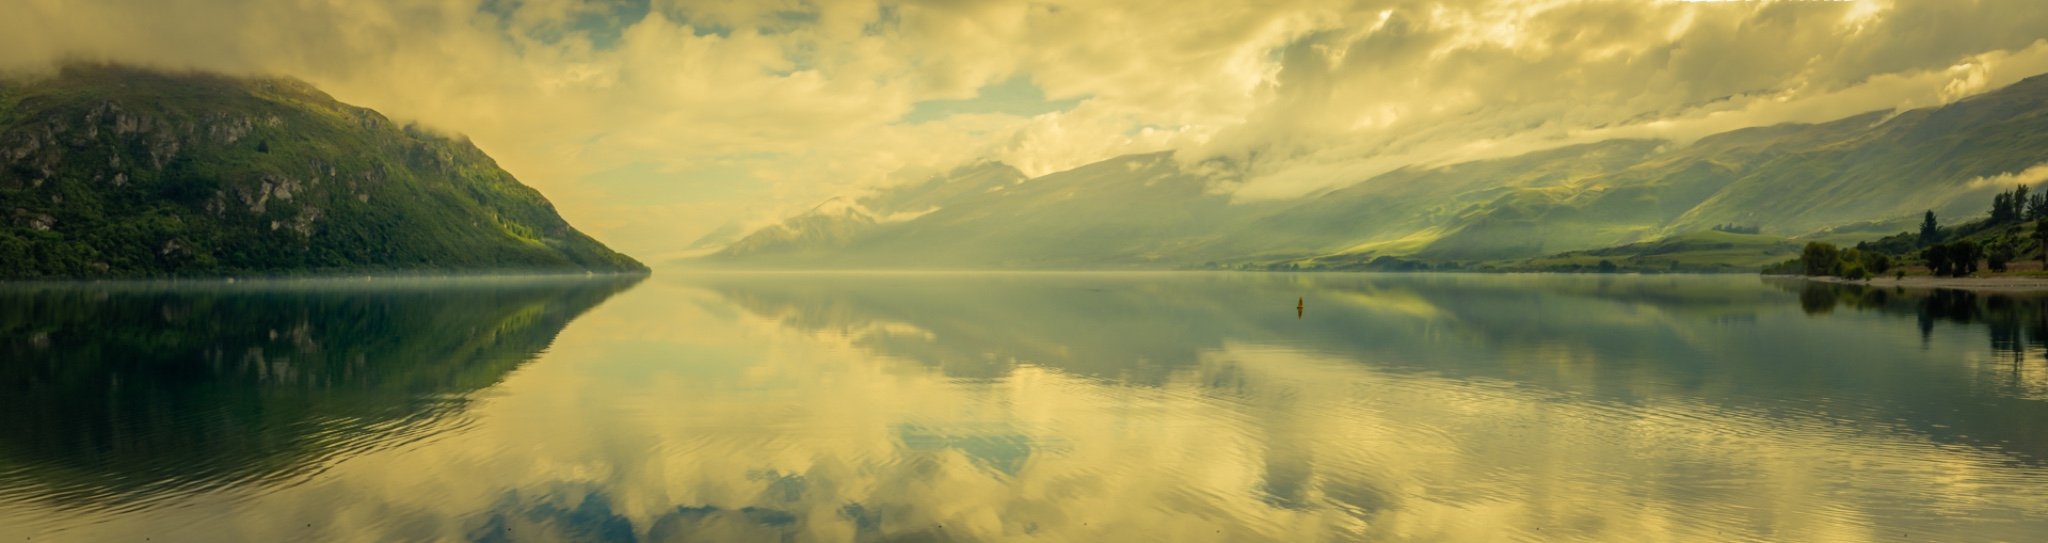
A recent panorama I shot, of Lake Wakatipu with fog rising in the morning, had beautiful ripples on the water. While Photoshop was able to make a composite panorama, none of the ripples matched from one frame to another and it took a lot of cloning to create the effect realistically.
If you are satisfied with the way the layers blend, the next step is to go: layer – merge layers, to bring everything into a single layer. Most panoramas will have a degree of distortion, so here you: select all-edit-transform-warp.
Most commonly, panoramas will curve down from the middle, so I will pull the outer corners up to make the image become more rectangular. The middle points along the edges often need to be brought in as well.
It pays to pull a guide in from the ruler so you can establish a horizontal horizon line. With the transform-warp tool you are able pull and push until the scene looks right. Finally, use the crop tool to trim off the edges. Save the image to the same folder as a your original images and it should show up in your Lightroom film strip.
It is in Lightroom that you can now make all your creative adjustments and cropping which are non-destructive to your original image. This is where you get creative. You might want to play around with some creative settings and presets or edit in external editors like my favorites: Color Efex Pro 4, Viveza or Analog Efex Pro 2 from NIK Software.
Let me know if this information helps. If you have any questions, drop me a line or if you would like show me what you’ve done with panoramas and HDR, I’d love to see.